Many WWII jeep owners complain
about "slow cranking" with their 6 volt starters. This is such a common
problem that many folks just assume that 6 volt starters normally
crank
slowly - but they don't! Tired, worn-out 6 volt starting systems
do crank slowly, but a 6 volt starting system in good condition works
great.
If your original 6volt system cranks slowly
regardless of engine temperature, check the following items:
If you can answer "yes" to all of the above
questions then your 6 volt starting system should be working just
fine. If any answer is "no" then you can expect a slow cranking
starter with a warm or cold engine.
If you have a starting system that cranks well with
a cool engine, but bogs down when the engine is hot, then the problem
is probably worn-out starter bearings/bushings.
Bringing your starter to the rebuild shop will allow the technician to
replace the bushing on the commutator end of the starter motor, and
this alone will help temporarily, but on WWII jeeps there is a bushing
in the bell housing of the jeep which will also needs to be replaced -
not a simple task.
After
13,000 miles and 6 years of driving
Sweetpea, the tell-tale signs of bad starter bushings ( poor cranking
in hot-engine conditions) appeared. I knew that the starter
needed a rebuild and the bushing in the bell housing needed to be
replaced. It was a two-evening job (with the starter being out in
the shop overnight) but not all that onerous after all, and the
results were outstanding.
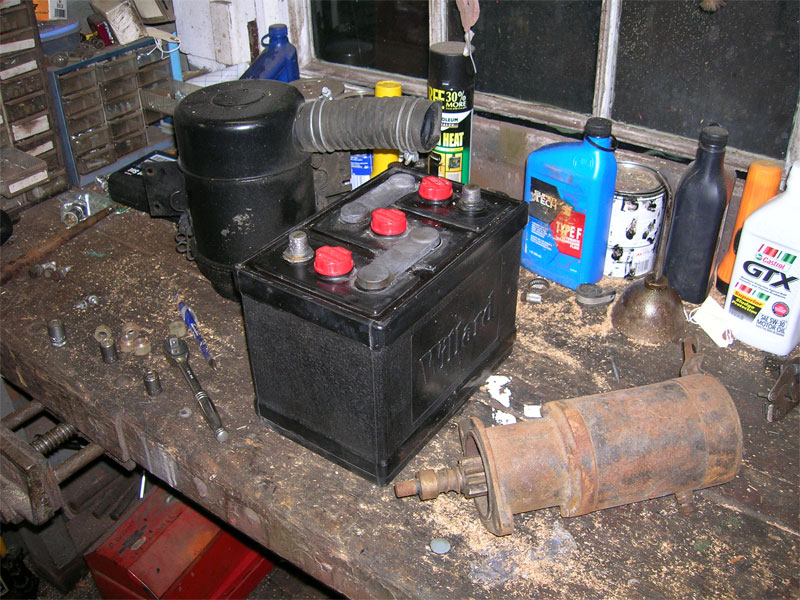
With this stuff out of the way it is easy to remove the starter and
send it off for a rebuild.
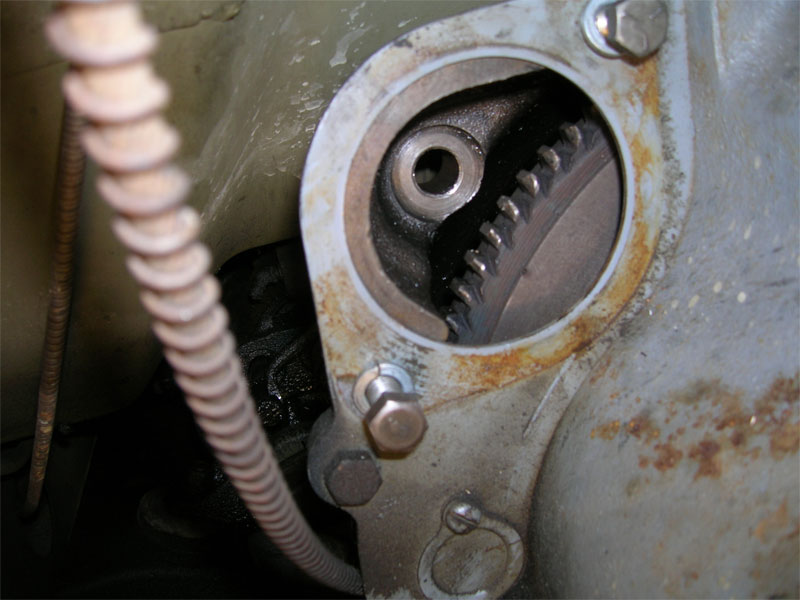
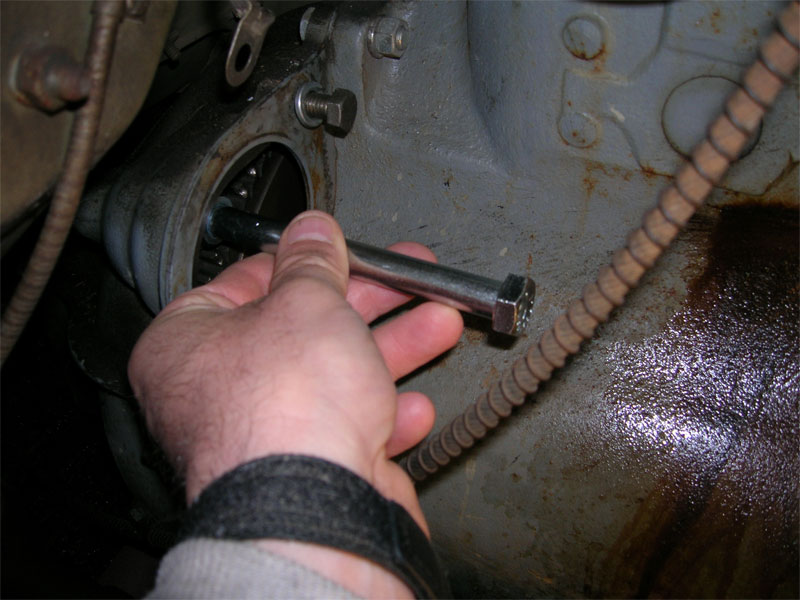
Now
you can see and access the bushing way in there past the
flywheel. In the picture below, the bushing has already been
driven out
using an appropriately sized socket with an extension and a
mallet. (Yes, I know that "real" mechanics frown on using sockets
as drivers, so what? It works and so I do it.) I have
driven the bushing back and out of the bell housing. This has
pushed the plug out the back, too. Be careful to save the plug,
you'll need to reinstall it later.
Now
you need a bushing driver to install the new bushing. I made my
own driver for a couple bucks using the items shown below...
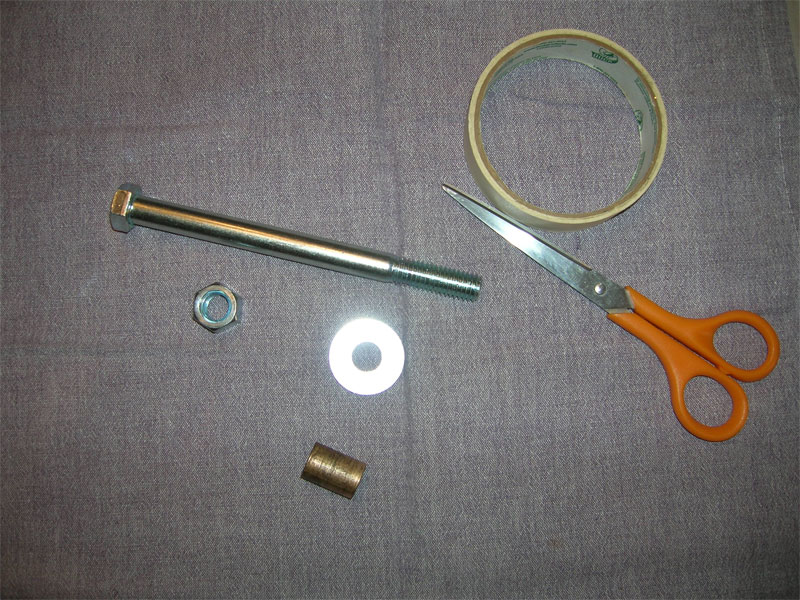
Assemble
the1/2" bolt, nut and washer as shown and apply a single layer of
masking tape to the threads to cushion the inner surface of the bushing
and to keep the bushing in place.
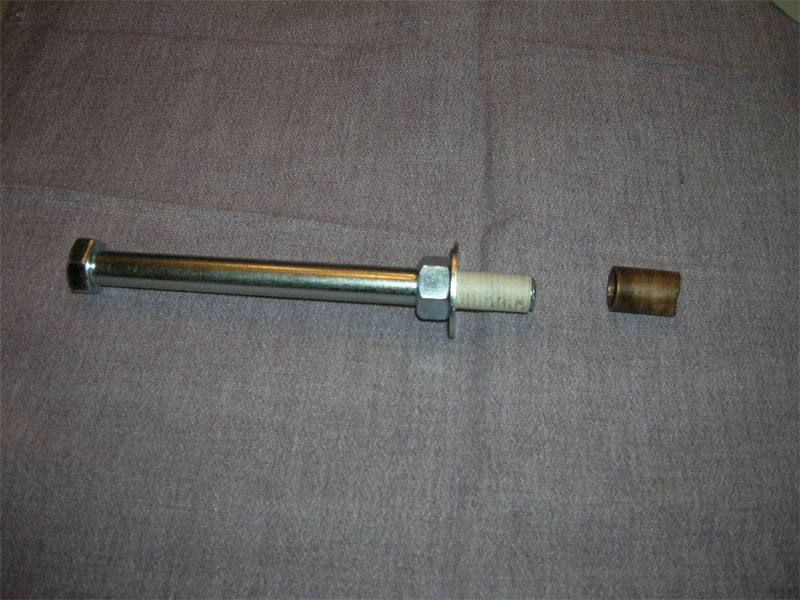
The tape makes for a very snug fit when the bushing is slid into place on the driver. This prevents the bushing from falling off and possibly falling down into the bell housing - that would NOT be good!

Tap
the new bushing in place using the hammer of your choice.
Now
we need to get creative to re-install the plug that goes behind the
bushing in the bell housing. This plug is like a freeze plug, but
only serves to keep dust and moisture off the bushing so it has no
pressure against it once it is in place. I put mine in by
assembling a clamp affair using the items blow. The cleaned-up
plug is the item that looks like a coin in the picture.
Yup, there's another socket serving as a "driver"! Sorry to you
purists, but I'm just a regular guy on a budget who needs to get the
job done.
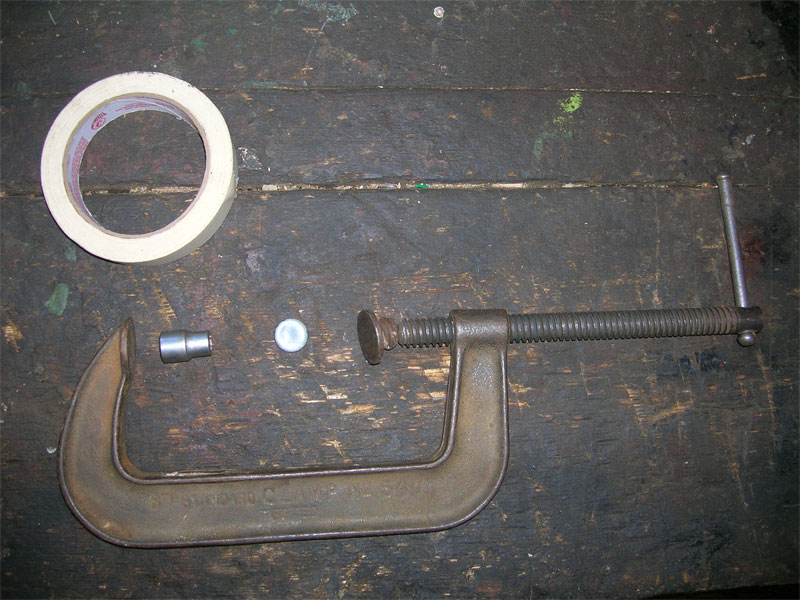
Again
our trusty masking tape saves the day, this time by holding the socket
in place for us as shown.

A
scrap of wood bolted in place using the original starter mounting hole
and bolt gives us a surface to clamp against. I applied a tiny
amount of black RTV on the plug and on the plug seat before driving the
plug back into it's home.

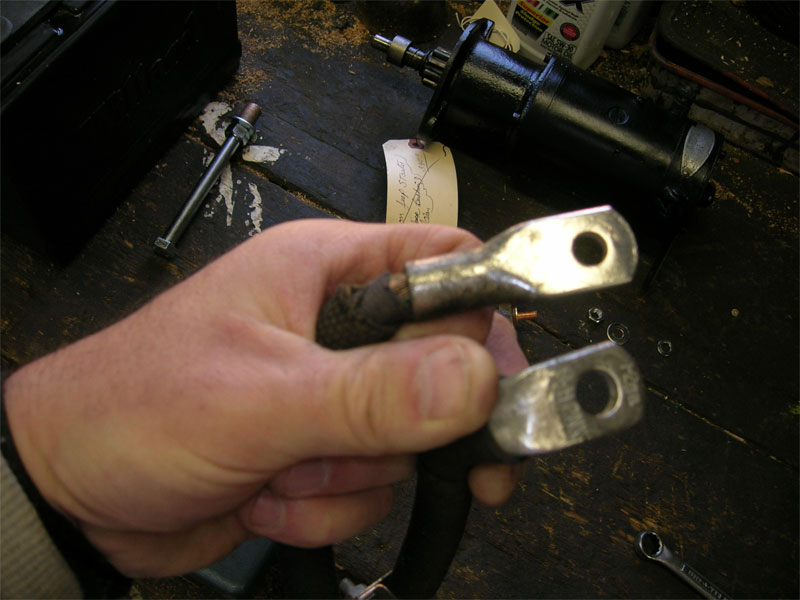
After
installing a brand-new "step-on-it" starter switch in position, I
shined up ALL of my connections before re-assembling the cables. After the clean connections
were re-assembled I gave them a coating of grease to help slow down
corrosion.
You can see my freshly rebuilt starter on the bench waiting to be
installed.
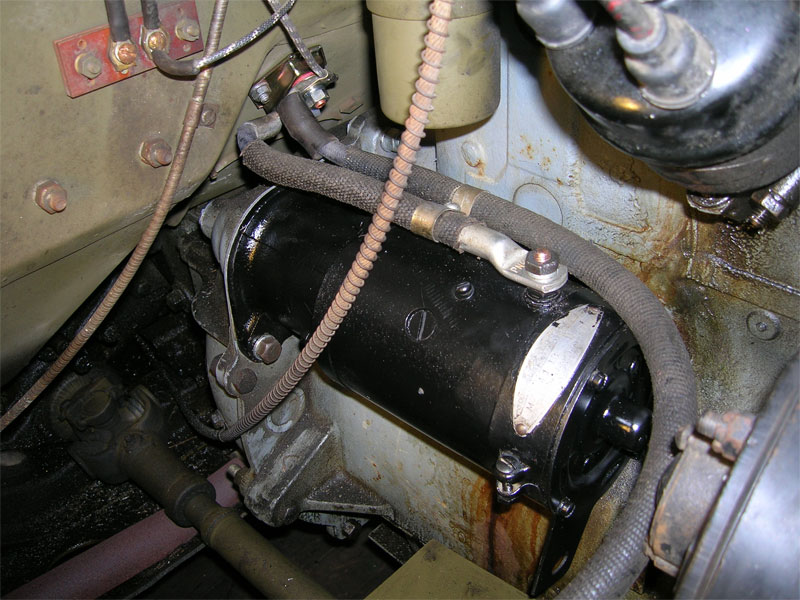
Ah,
now that's a thing of beauty! Please notice the double clamp
holding the battery cable in position next to the short
starter-to-switch cable. Also, look at the massive diameter of
those 2-gauge cables! That's the kind of wire you need to carry
the amperage of a 6 volt starter system.
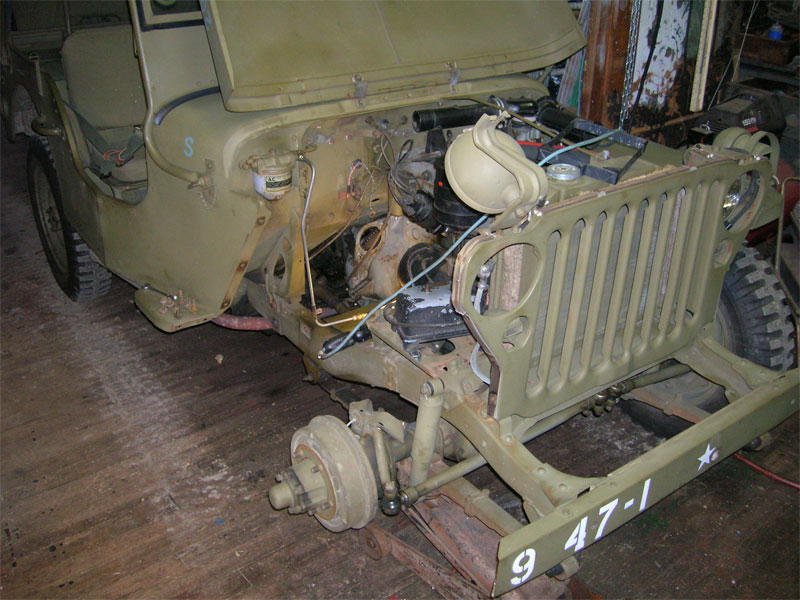
After reassembling the rest of the vehicle I can tell you that the new bushings and new starter switch have cured my sluggish "hot starts". Sweetpea cranks briskly and effectively in all temperature conditions now ON 6 VOLTS.
Good Luck!