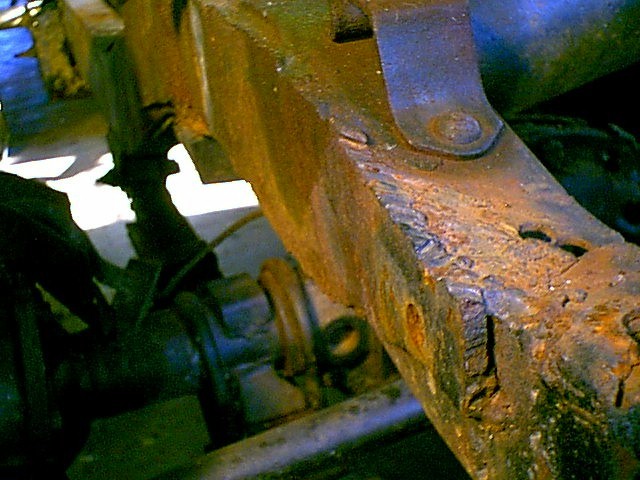
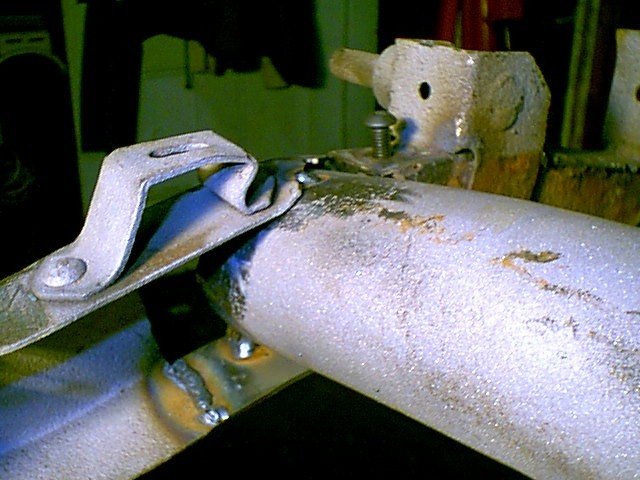
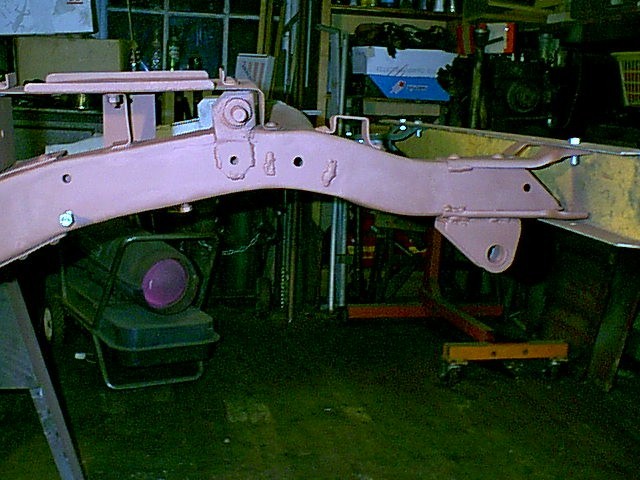
The ugly repair plates and need to be removed....
Upwards of 60 years worth of hard
use
and exposure to the weather has taken it's toll on many an MB or GPW
frame.
The frame on MB392034 had rusted under the battery tray and broke where
it was weakened. A previous owner poorly welded some repair
plates
on either side of the frame, but this all had to be repaired
properly.
There is more than one method to do this, but I have outlined below the
(typical) steps taken by me in my current restoration. You may
use
these steps as a guideline and adapt the techniques to your particular
frame. If you notice errors or improvements to the process I
would
appreciate your input by email.
Thanks - Ren Bernier
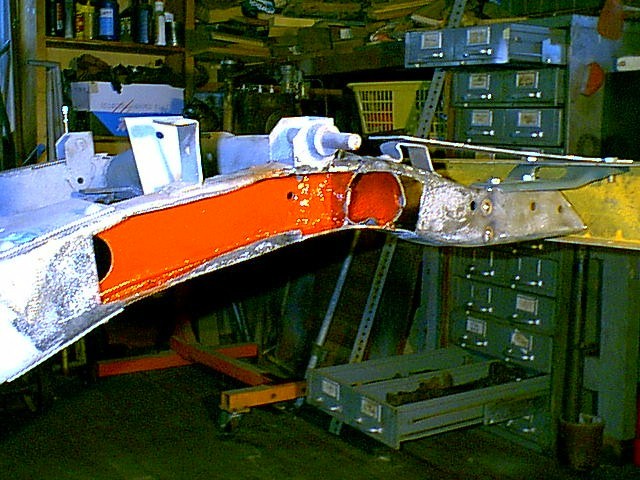
Step One - Evaluate the Damage - yikes!
The previous owner's repair plates were attached to either side of the frame below the battery tray
The ugly repair plates and need to
be removed....
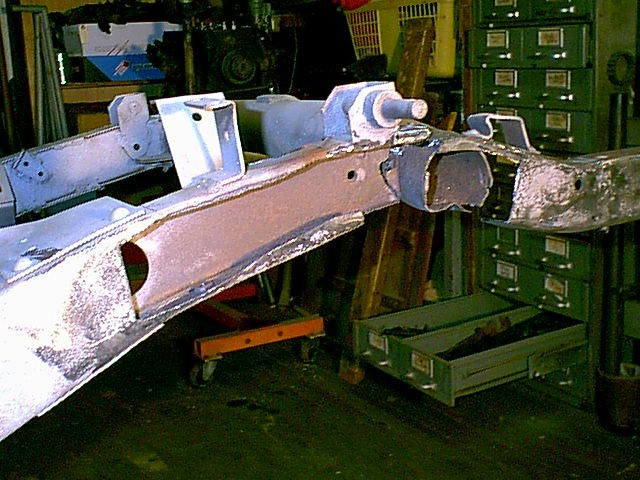
Step Two - Remove Extraneous Pieces that are
Welded
to the Frame
Using a grinder, cut-off wheel and / or cutting torch,
carefully remove and non-original metal pieces. Then sandblast
the
area to afford a careful inspection for cracks, etc.

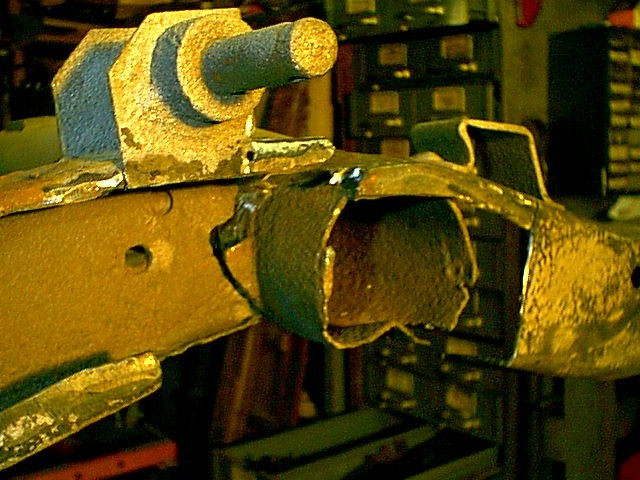
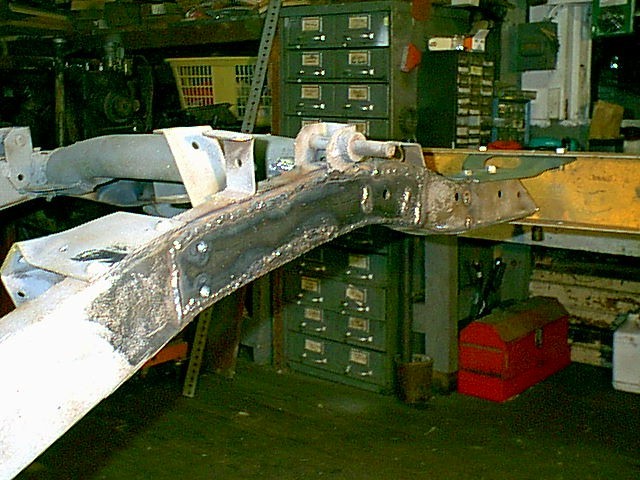
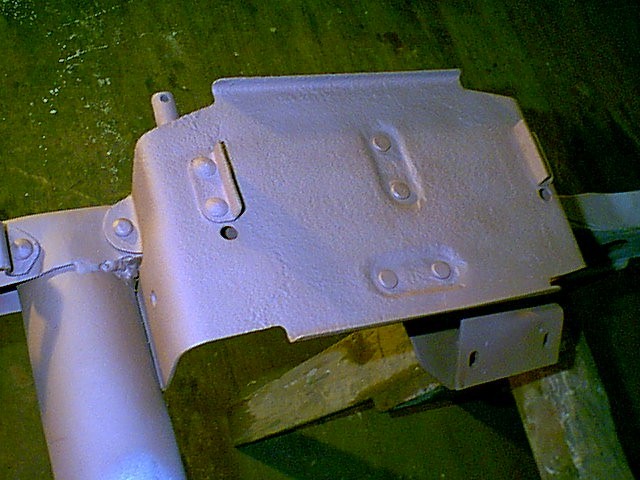
Removing the repair plates revealed that the frame
had
rusted through where the front crossmember attached
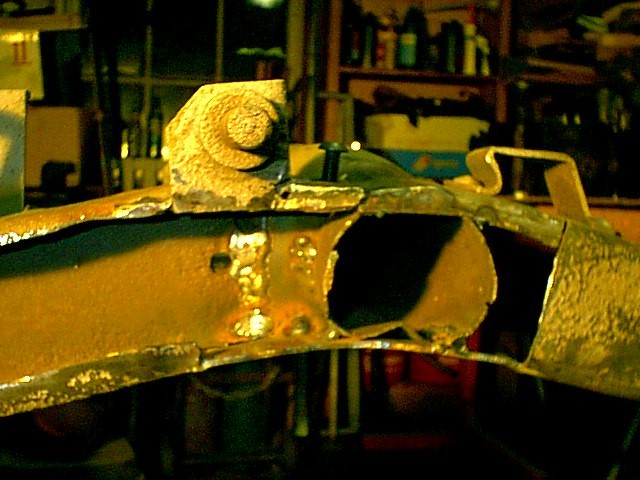
Step Three - Remove Rusted, Broken Face of the
Frame
Using a grinder, cut-off wheel and hacksaw, carefully
remove the rust-damaged metal pieces. This allows access to the
inner
surface of the frame.
Opening the frame disclosed a major misalignment of the broken parts...
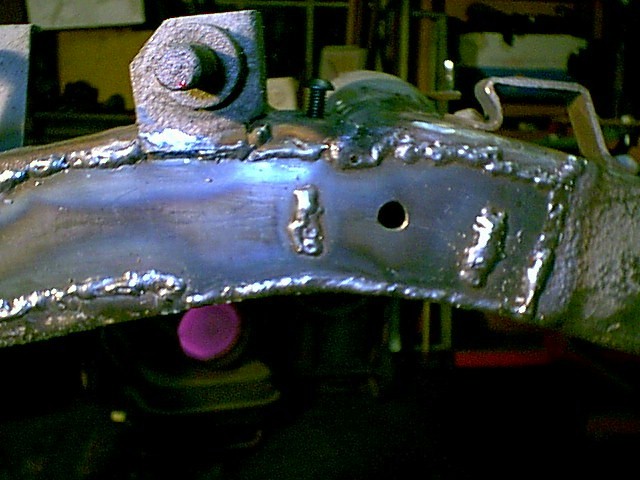
Step Four - Re-align The frame and Weld in Repair
Pieces
on the Inside of the Frame
By working inside the frame, the repairs will not be
visible when done. I welded the crack and added some strengthening
gussets
over the repair. At this time I also welded in place a nut to
accept
the button-head socket cap screws that will replace the blind rivet
holding
the battery tray in place.
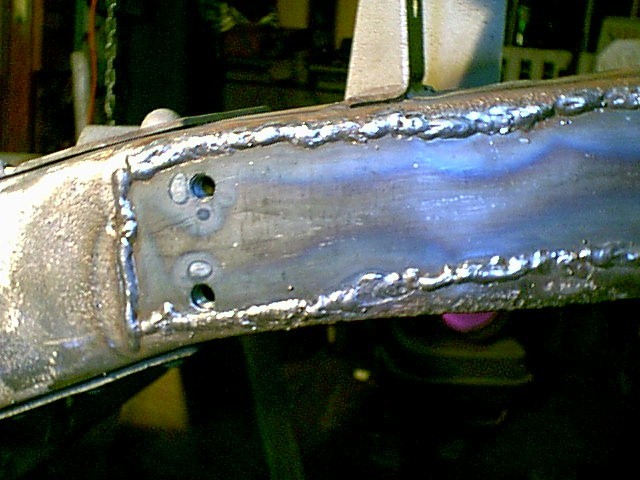
Step Five - Weld in Repair Piece on the Bottom
Rail
of the Frame
Fabricate a repair piece for the bottom frame rail and
weld this in place. Be careful to secure the frame horn in
position
during this process.
Step Six - Cut a Cardboard Template of the Patch Needed
Using an xacto knife, trim the cardboard to a perfect fit to replace the cut-out area.
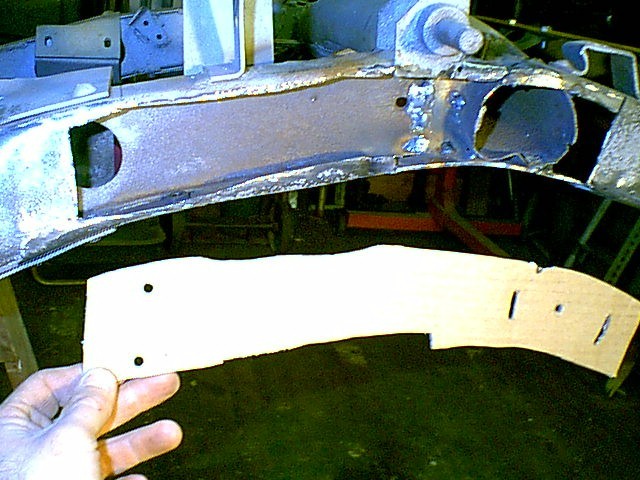
I included on the template the holes for the fender brace bolts, the slots for the front cross-tube to stick through, and the vent hole for the cross tube. Be sure to fit the template in the frame hole and triple check the fit.

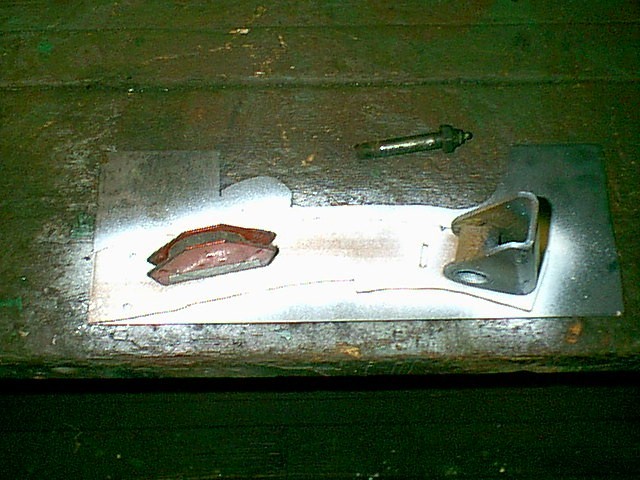
Step Seven - Transferring the Template Image to
the
New Metal
Lay the template on the stock metal and spray with
quick
drying paint. When you lift off the template, it's image is
outlined
on the steel and easily cut out. The bolt holes and slots also
show
this way...
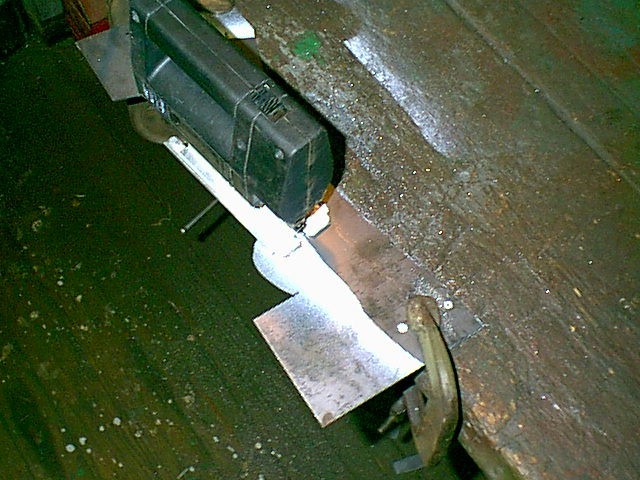
Step Eight- Cut Patch
Lift the template off and cut the patch. I use
a hand-held jigsaw with a metal cutting blade for this. Drill the
holes and slots as indicated by the template. Be sure to
weld
nuts to the back of the patch to accept the fender brace bolts
now!
Step Nine - Apply Your Favorite Rustproofing to
the
Inside of the Frame
Now is the time, while you can reach these areas....
I brushed on a little red oxide primer. Notice the repro bumper
and
gusset used to maintain alignment of the frame during repair.
Step Ten - Weld in the Patch
The patch is MIG welded in place, now things start to
look better!
My welding is not pretty, but it is strong!
The
two vertical beads on either side of the hole capture the crosstube as
the original did.
The two nuts welded to the inside of the patch
provide
the threaded holes for the fender brace bolts...
Step Eleven - Cosmetic Work
The area gets ground smooth. I use a little
filler
to hide grinder marks and then sand and prime the area.
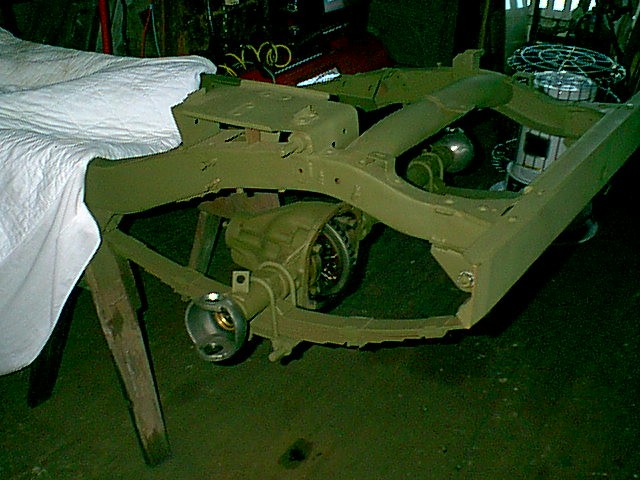
The Button head socket cap screw "Rivets" are used to install a battery tray salvaged from another frame.
Step Twelve - Finish Paint
Oh Yeah!
For more related images, go to the MB
Image Index
Good Luck!